Setting up your first shrimp tank is an exciting journey, but there’s one crucial step that can make or break your success: properly cycling your aquarium. Unlike hardy fish that can tolerate minor water quality issues, freshwater shrimp are incredibly sensitive to ammonia and nitrites. Even trace amounts of these toxic compounds can stress, sicken, or kill your precious shrimp colony.
The good news? With patience and the right approach, cycling a shrimp tank is absolutely achievable for beginners. This process establishes beneficial bacteria that convert harmful waste into safer compounds, creating a stable environment where your shrimp can thrive. Whether you’re planning to keep colorful Neocaridina like Cherry Shrimp or demanding Caridina species like Crystal Red Shrimp, proper cycling is your foundation for success.
In this comprehensive guide, we’ll walk you through every step of the cycling process, from initial setup to the moment you can safely add your first shrimp. You’ll learn the science behind the nitrogen cycle, get exact water parameters to monitor, and discover pro tips that experienced shrimp keepers use to ensure their tanks are perfectly prepared.
Understanding the Nitrogen Cycle
The nitrogen cycle is the biological process that transforms toxic ammonia into less harmful nitrates through beneficial bacteria. In your shrimp tank, this cycle involves three key stages:
Stage 1: Ammonia Production Fish waste, uneaten food, and decaying plant matter produce ammonia (NH₃) and ammonium (NH₄⁺). Even in tiny amounts, ammonia is extremely toxic to shrimp, burning their gills and causing severe stress.
Stage 2: Nitrite Formation Nitrosomonas bacteria colonize your filter media and substrate, converting ammonia into nitrite (NO₂⁻). While less toxic than ammonia, nitrite still poses serious risks to shrimp by interfering with their ability to carry oxygen.
Stage 3: Nitrate Conversion Nitrospira bacteria complete the cycle by converting nitrite into nitrate (NO₃⁻). Nitrates are far less toxic and can be managed through regular water changes and live plants.
For shrimp tanks, you need both ammonia and nitrite to consistently read 0 ppm before introducing any livestock. This is non-negotiable – shrimp simply cannot tolerate even small spikes that hardier fish might survive.
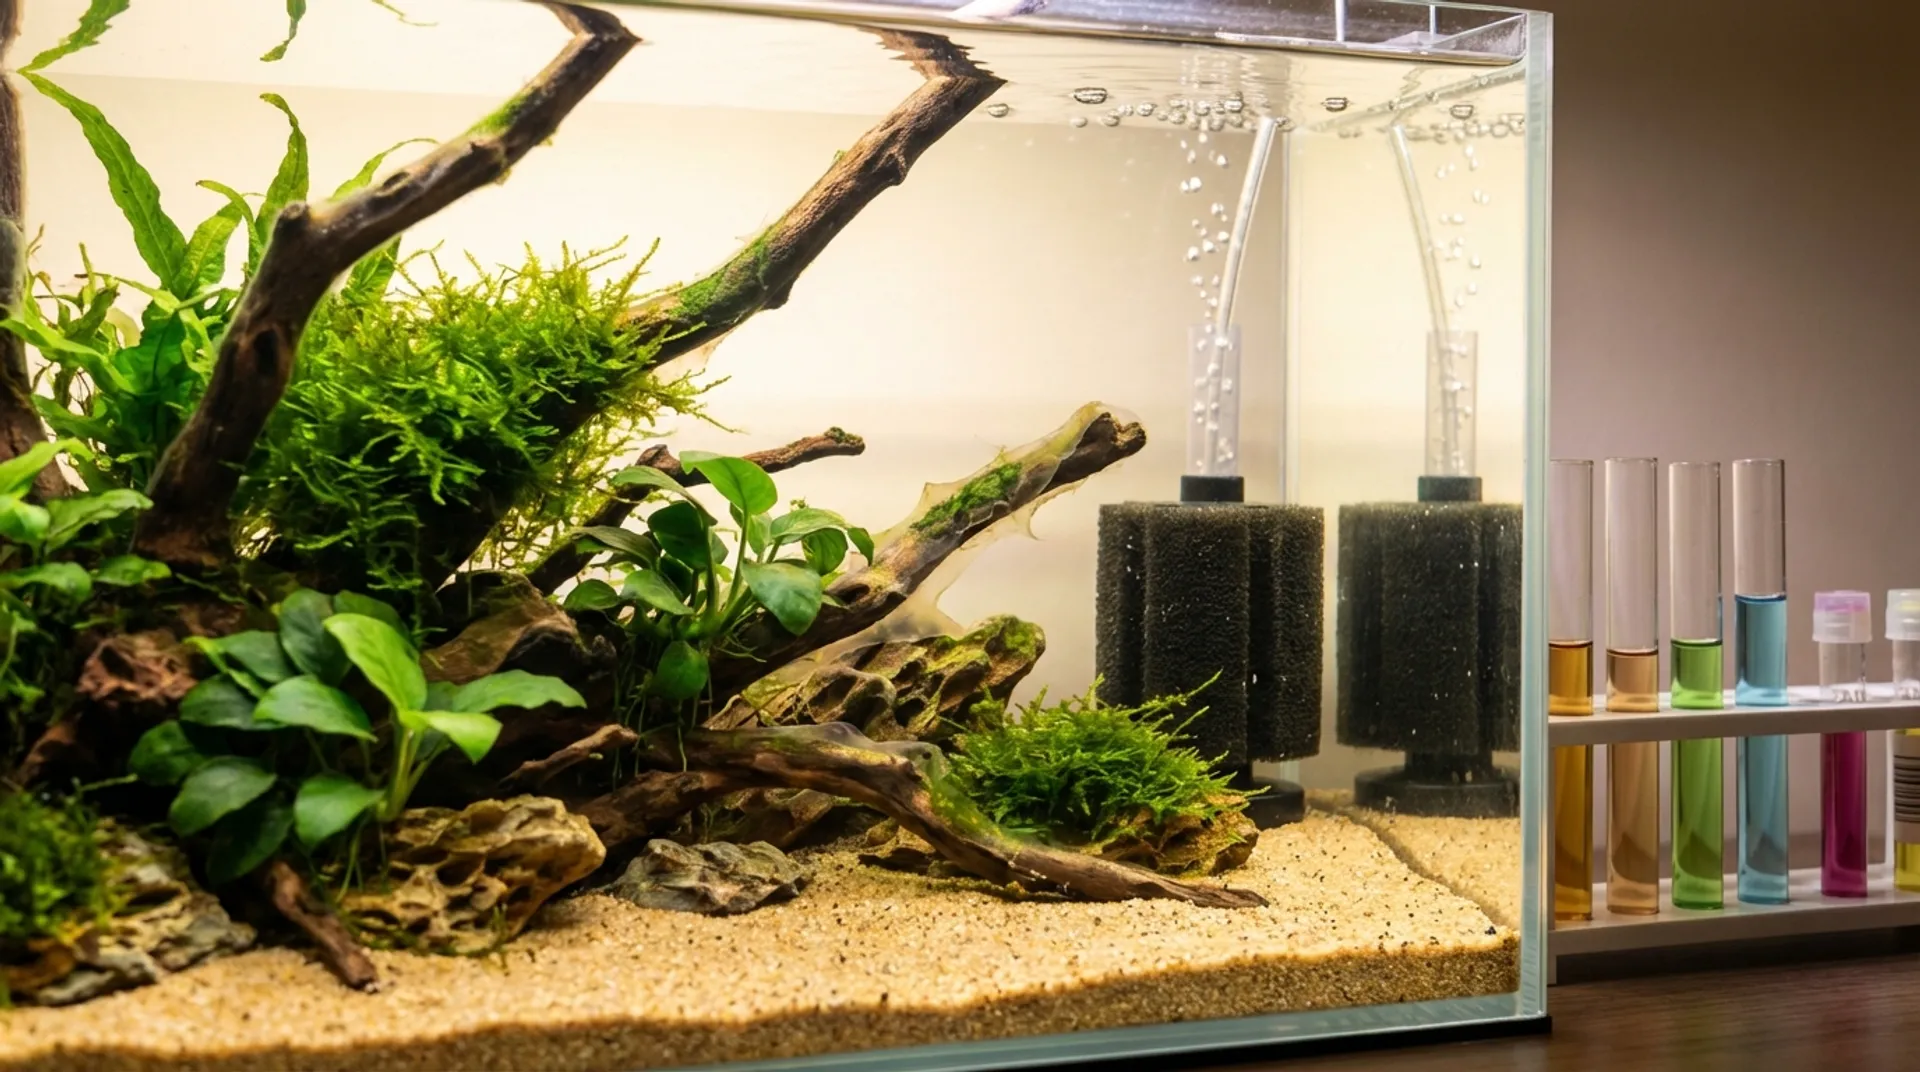
Essential Tank Setup Before Cycling
Before starting the cycling process, ensure your tank is properly configured for shrimp success:
Tank Size and Filtration
- Minimum 5-gallon tank for stability (10+ gallons recommended)
- Sponge filter or hang-on-back filter with pre-filter sponge
- Gentle water flow to avoid stressing shrimp
- Reliable heater maintaining 72-78°F (22-26°C)
Substrate and Hardscape
- 2-4 inches of fine gravel, sand, or active soil substrate
- Driftwood, rocks, or ceramic decorations for surface area
- The top 1-2 inches of substrate hosts crucial aerobic bacteria
Water Parameters by Species Type
Neocaridina Shrimp (Cherry, Blue Dream, etc.):
- pH: 6.5-8.0
- GH: 6-12 dGH
- KH: 2-8 dKH
- TDS: 150-300 ppm
- Use dechlorinated tap water
Caridina Shrimp (Crystal Red, Taiwan Bee, etc.):
- pH: 5.8-7.0
- GH: 4-8 dGH
- KH: 0-2 dKH
- TDS: 120-200 ppm
- Use RO water with remineralizer
Pro tip: Test your tap water before deciding between Neocaridina and Caridina species. If your tap water naturally falls within Neocaridina parameters, you’ll save time and money compared to using RO water for Caridina.
Step-by-Step Fishless Cycling Process
The fishless cycling method is ideal for shrimp tanks because it allows you to control ammonia levels and avoid harmful spikes. Here’s your day-by-day guide:
Week 1: Initial Setup
Day 1-3: Tank Preparation
- Fill tank with treated water at correct temperature
- Install and run all equipment (filter, heater, lighting)
- Add live plants if desired – they’ll help consume nitrates later
- Turn on lighting and leave on throughout cycling to encourage biofilm growth
Day 4-7: Introduce Ammonia Source Choose one method:
- Fish flakes method: Add a small pinch daily (creates 2-4 ppm ammonia as it decays)
- Shrimp pellet method: Drop 2-3 pellets every other day
- Pure ammonia method: Add liquid ammonia to reach 2-4 ppm (more precise but requires careful dosing)
Week 2-3: Establishing Bacteria Colonies
Daily Monitoring:
- Test ammonia, nitrite, and nitrate levels
- Record results in a log book
- Continue adding your chosen ammonia source
Expected Progression:
- Days 7-14: Ammonia levels should start dropping as Nitrosomonas bacteria establish
- Days 10-20: Nitrite levels will spike as ammonia converts
- Days 15-25: Nitrite begins dropping as Nitrospira bacteria develop
Bacteria Supplement (Optional): Add bottled nitrifying bacteria every other day for 15 days to accelerate the process. Popular brands include Seachem Stability and API Quick Start.
Week 4-6: Cycle Completion and Maturation
Cycle Completion Test: When both ammonia and nitrite read 0 ppm consistently:
- Dose tank with 1-2 ppm ammonia
- Test after 24 hours
- If both ammonia and nitrite are 0 ppm, your cycle is complete
- Nitrates should be detectable (10-40 ppm)
Tank Maturation Period: Allow 1-2 additional weeks after cycling for:
- Beneficial biofilm development on surfaces
- Stabilization of bacterial colonies
- Growth of microorganisms that shrimp feed on
Pro tip: During maturation, resist the urge to clean surfaces. That “dirty” appearance is actually beneficial biofilm that your shrimp will graze on constantly.
Monitoring and Testing During Cycling
Accurate testing is crucial for cycling success. Invest in quality test kits and follow these guidelines:
Essential Tests:
- Ammonia (NH₃/NH₄⁺): Must reach 0 ppm before adding shrimp
- Nitrite (NO₂⁻): Must reach 0 ppm before adding shrimp
- Nitrate (NO₃⁻): Should be present (confirms cycle completion)
- pH: Monitor for stability within species range
Testing Schedule:
- Weeks 1-2: Test every other day
- Weeks 3-4: Test daily during bacterial establishment
- Weeks 5-6: Test every few days to confirm stability
Troubleshooting Common Issues:
Stalled Cycle (ammonia not dropping after 3 weeks):
- Check water temperature (bacteria prefer 75-80°F)
- Ensure adequate oxygenation
- Test pH – bacteria need pH above 6.0
- Add bacterial supplement
Nitrite Spike Won’t Drop:
- Be patient – this phase can last 2-3 weeks
- Continue adding small amounts of ammonia to feed bacteria
- Increase aeration
- Avoid water changes unless nitrite exceeds 5 ppm
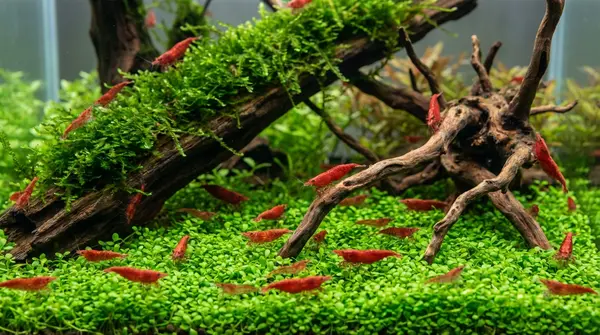
Preparing for Your First Shrimp
Once cycling is complete and your tank has matured, it’s almost time for shrimp! Take these final steps:
Final Water Parameter Check:
- Ammonia: 0 ppm
- Nitrite: 0 ppm
- Nitrate: 5-20 ppm (perform water change if higher)
- pH, GH, KH within species requirements
- Temperature stable at 72-76°F
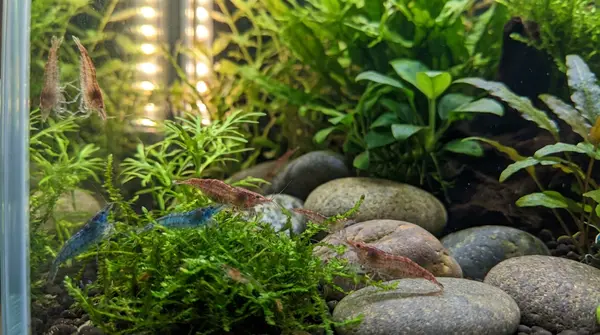
Stocking Recommendations:
- Start with 5-10 shrimp in a 10-gallon tank
- Choose healthy, active specimens from reputable sources
- Acclimate slowly using the drip method over 1-2 hours
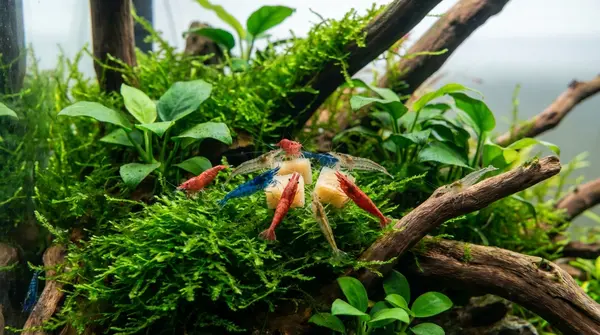
Initial Feeding:
- Feed sparingly – biofilm should be their primary food source initially
- Offer small amounts of shrimp pellets 2-3 times per week
- Remove uneaten food after 2-3 hours
Conclusion
Cycling a tank for shrimp requires patience, but the reward of watching a thriving shrimp colony makes every day of waiting worthwhile. By following this step-by-step guide, you’ve created a stable, mature environment where your shrimp can not only survive but flourish.
Remember that cycling is just the beginning of your shrimp-keeping journey. Maintain consistent water parameters, perform regular water changes, and resist the urge to overcrowd your tank too quickly. With your properly cycled foundation, you’re well on your way to becoming a successful shrimp keeper. Start your cycling process today, and in just a few weeks, you’ll be ready to welcome your first colorful inhabitants to their new home.
Frequently Asked Questions
Cycling a shrimp tank typically takes 4-6 weeks using the fishless method. This includes 2-4 weeks for the nitrogen cycle to establish and an additional 1-2 weeks for the tank to mature and develop beneficial biofilm.
No, it's best to wait 1-2 weeks after cycling completes to allow the tank to mature. This develops essential biofilm that shrimp feed on and ensures stable water parameters.
Both ammonia and nitrite must read 0 ppm before adding shrimp. Test by dosing 1-2 ppm ammonia and ensuring it converts to 0 ppm ammonia and 0 ppm nitrite within 24 hours.
Fish flakes or shrimp pellets are safer for shrimp tanks as they provide a gentler ammonia source (2-4 ppm) and help develop biofilm. Pure ammonia works but requires more careful dosing.
While not required, bottled nitrifying bacteria can speed up cycling by 1-2 weeks. Add bacteria supplements every other day for 15 days according to package instructions.
Maintain pH 6.5-8.0, temperature 72-78°F, and ensure good aeration. For Caridina shrimp, use RO water with GH 4-8, KH 0-2. For Neocaridina, dechlorinated tap water with GH 6-12, KH 2-8 works well.
Setting Up Your First Shrimp Tank?
Get species-specific parameter recommendations and track your tank cycle with ShrimpKeeper.
Download FreeRelated Articles
How to Set Up a 5 Gallon Shrimp Tank: Complete Beginner's Guide
Setting up your first 5-gallon shrimp tank doesn't have to be overwhelming. Follow our complete guide to create the perfect nano aquarium for your freshwater shrimp colony.
How to Make Your Own Shrimp Food at Home: Complete DIY Guide
Discover how to create cost-effective, nutritious homemade shrimp food that promotes better growth and breeding. Get proven recipes and step-by-step instructions.
Why Is My Shrimp Swimming Erratically? Complete Troubleshooting Guide
When your shrimp suddenly start darting around frantically, it's usually a cry for help. Learn to identify the causes and implement life-saving solutions quickly.