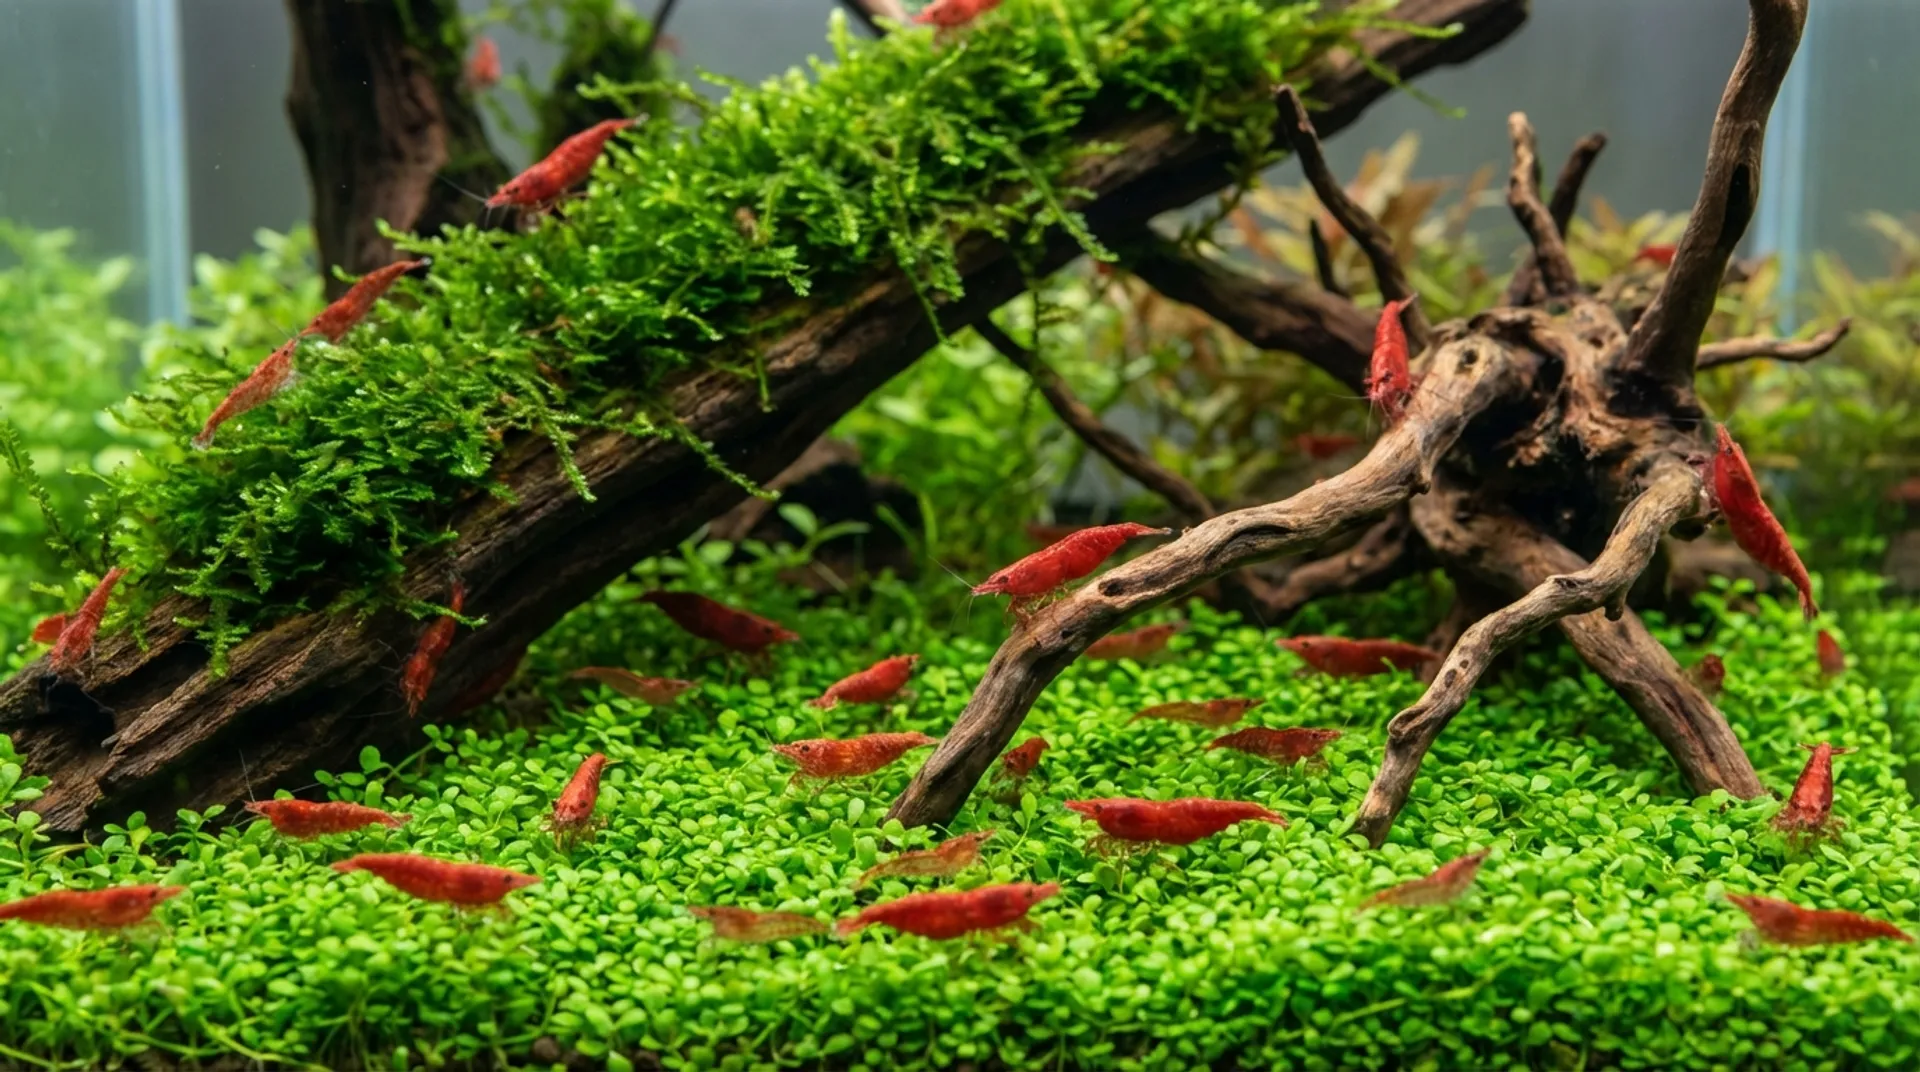
Picture this: you’re sitting at your desk, watching tiny colorful shrimp gracefully glide through a lush underwater garden, their delicate movements bringing a sense of calm to your busy day. A 5-gallon shrimp tank offers the perfect introduction to the rewarding hobby of freshwater shrimp keeping, fitting beautifully on any desktop, bookshelf, or countertop.
While some hobbyists recommend starting with larger tanks, a well-planned 5-gallon setup can absolutely succeed with the right approach. The key lies in understanding that smaller volumes require more attention to detail and stricter maintenance routines. Your patience during the initial setup phase will be rewarded with a thriving nano ecosystem that brings joy for years to come.
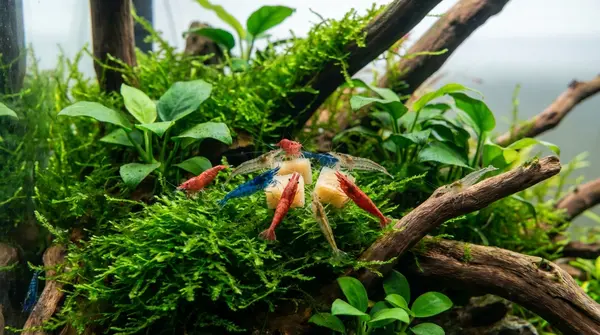
This complete guide will walk you through every step of creating your perfect 5-gallon shrimp sanctuary, from selecting the right equipment to maintaining optimal water conditions. Whether you’re drawn to the vibrant reds of Cherry shrimp or the stunning blues of Blue Dream Neocaridina, you’ll have all the knowledge needed to give your future colony the best possible start.
Essential Equipment for Your 5-Gallon Shrimp Tank
Success starts with the right foundation. Your equipment list doesn’t need to break the bank, but choosing shrimp-appropriate gear makes all the difference in long-term success.
Tank and Basic Setup:
- 5-gallon glass aquarium with secure lid (prevents escapes and reduces evaporation)
- Sturdy, level stand or surface that can support 50+ pounds when filled
- Aquarium-safe silicone sealant for any repairs if buying used
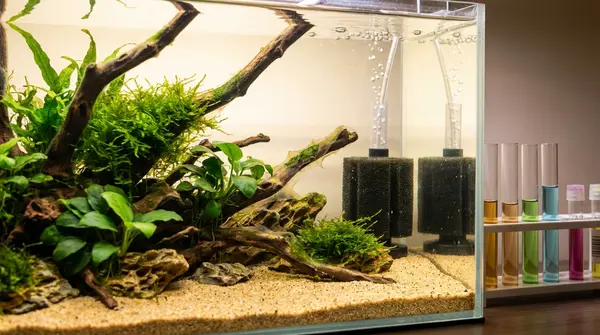
Filtration System: A sponge filter is your best friend for nano shrimp tanks. Unlike hang-on-back or canister filters, sponge filters provide gentle water movement that won’t suck up baby shrimp or create stress-inducing currents. Pair it with a small air pump rated for 5-10 gallons.
Heating: An adjustable 25-50W heater with built-in thermostat prevents dangerous temperature swings in small volumes. Position it near your filter’s water flow for even heat distribution, and always use a heater guard if keeping curious shrimp species.
Lighting: Moderate LED lighting supports plant growth without triggering algae blooms. Look for fixtures with dimming capabilities or timers, running lights 6-8 hours daily. Many nano tank starter kits include appropriate lighting.
Substrate and Hardscape Selection
Your substrate choice impacts both aesthetics and functionality. Use 1-1.5 inches of rinsed aquarium gravel, with darker colors helping shrimp colors pop visually. Avoid calcium-based substrates unless keeping Caridina species that require specific pH buffering.
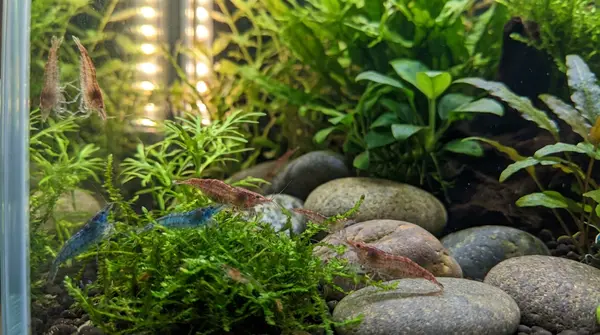
For hardscape, select aquarium-safe driftwood and rocks that won’t alter water chemistry. Malaysian driftwood, spider wood, and dragon stone work beautifully in nano setups. Create hiding spots and visual interest while leaving open swimming areas.
Pro tip: Test any rocks with white vinegar before adding them to your tank. If they fizz, they contain calcium carbonate and will raise your pH and hardness over time.
Step-by-Step Tank Setup Process
Phase 1: Physical Setup
- Position your empty tank on its final location (avoid moving once filled)
- Thoroughly rinse substrate until water runs clear
- Add substrate in a gentle slope, slightly deeper toward the back
- Arrange hardscape elements, creating caves and territories
- Plant your vegetation, securing roots firmly to prevent floating
Phase 2: Filling and Equipment
- Place a dinner plate on substrate to prevent disturbance
- Pour conditioned water slowly onto the plate until tank is 80% full
- Install heater and sponge filter, but don’t turn on yet
- Remove plate and top off tank, leaving 1-2 inches of airspace
- Add lid and lighting system
Phase 3: System Startup
- Turn on heater and set to 74-76°F for cycling phase
- Start air pump and sponge filter
- Begin lighting schedule (6 hours daily during cycling)
- Add a pinch of fish food every few days to start ammonia production
The Critical Cycling Phase
This 2-4 week period develops the beneficial bacteria essential for processing shrimp waste. Your patience here directly impacts your future success rate.
Week 1-2: Ammonia will spike to 2-4 ppm as bacteria colonies establish. Test daily and continue adding small amounts of food.
Week 2-3: Nitrite-consuming bacteria develop, causing nitrite spikes while ammonia drops. Both toxins are deadly to shrimp.
Week 3-4: Nitrate-producing bacteria mature, converting nitrites to less harmful nitrates. You’ll see ammonia and nitrite drop to 0 ppm while nitrates rise to 5-20 ppm.
Only add shrimp when ammonia and nitrite both read 0 ppm for three consecutive days. Small tanks cycle slower than large ones, so resist rushing this process.
Pro tip: Seed your cycle by adding filter media from an established aquarium or purchasing bottled bacteria designed for freshwater tanks. This can reduce cycling time by 1-2 weeks.
Optimal Water Parameters
Neocaridina shrimp (Cherry, Blue Dream, Yellow) thrive in these ranges:
- Temperature: 72-78°F (22-25°C)
- pH: 6.5-8.0 (stability matters more than exact numbers)
- General Hardness (GH): 6-12 dGH
- Carbonate Hardness (KH): 3-10 dGH
- Total Dissolved Solids (TDS): 150-250 ppm
- Ammonia: 0 ppm
- Nitrite: 0 ppm
- Nitrate: Under 20 ppm
Test weekly during the first month, then bi-weekly once established. Invest in quality test kits for accuracy, and always match new water to existing tank parameters when performing changes.
Stocking Your 5-Gallon Tank
Start conservatively with 8-12 adult shrimp, allowing room for natural breeding without overcrowding. Purchase from reputable sources and quarantine new arrivals if you have a separate tank available.
Acclimate slowly by floating the sealed bag for 15 minutes, then adding small amounts of tank water every 10 minutes for an hour. This prevents shock from parameter differences.
Maintenance and Long-Term Care
Weekly Tasks:
- Test water parameters
- Remove uneaten food and debris with turkey baster
- Check equipment function and clean glass if needed
Bi-Weekly Tasks:
- Perform 20% water changes (1 gallon) using dechlorinated, temperature-matched water
- Light substrate vacuuming in open areas
- Trim plants as needed
Monthly Tasks:
- Deep clean sponge filter in tank water (never tap water)
- Check heater accuracy with separate thermometer
- Inspect equipment for wear or damage
Feeding Guidelines: Feed sparingly 2-3 times per week with high-quality shrimp pellets, blanched vegetables, or specialized foods. Remove uneaten food after 2-3 hours to prevent water quality issues.
Pro tip: Shrimp are excellent scavengers and will find biofilm, algae, and microscopic food naturally. Underfeeding is safer than overfeeding in nano tanks.
Troubleshooting Common Issues
Cloudy Water: Usually bacterial bloom from new tank syndrome or overfeeding. Reduce feeding and wait for beneficial bacteria to establish balance.
Algae Growth: Excessive lighting or nutrients. Reduce photoperiod to 4-6 hours and increase live plants to compete for nutrients.
Shrimp Deaths: Check parameters immediately. Sudden deaths often indicate ammonia/nitrite spikes, temperature swings, or contamination from soap/chemicals on hands.
Poor Breeding: Immature colony, poor nutrition, or parameter instability. Ensure varied diet and stable conditions for 2-3 months before expecting reproduction.
Conclusion
Setting up a successful 5-gallon shrimp tank requires patience, attention to detail, and commitment to consistent maintenance. While the smaller volume presents challenges, the rewards of watching your shrimp colony flourish in a carefully crafted nano ecosystem are immeasurable.
Remember that stability trumps perfection – consistent parameters within acceptable ranges will serve your shrimp better than constantly chasing “ideal” numbers. Start with hardy Neocaridina species, maintain your equipment properly, and resist the urge to overfeed or overstock.
Your 5-gallon shrimp tank will become a source of daily joy and relaxation, offering endless opportunities to observe natural behaviors, breeding cycles, and the intricate balance of aquatic life. Take your time during setup, be patient during cycling, and soon you’ll be rewarded with the satisfying sight of tiny shrimplets exploring their carefully crafted underwater world.
Frequently Asked Questions
Essential equipment includes a 5-gallon glass tank with lid, sponge filter, 25-50W adjustable heater, LED lighting, water conditioner, aquarium substrate, and basic plants like Monte Carlo or Java moss.
Cycle your tank for 2-4 weeks minimum until you achieve 0 ppm ammonia, 0 ppm nitrite, and 5-20 ppm nitrate. Small tanks are less stable, so proper cycling is crucial for shrimp survival.
For Neocaridina shrimp, maintain 72-78°F temperature, pH 6.5-8.0, GH 6-12 dGH, KH 3-10 dGH, and TDS 150-250 ppm. Stability is more important than exact numbers.
Start with 8-12 adult shrimp in a 5-gallon tank. This allows room for breeding while preventing overcrowding. Shrimp reproduce readily once established in stable conditions.
Perform 20% water changes (1 gallon) every 1-2 weeks using dechlorinated water matched to tank temperature and parameters. Use a turkey baster to remove debris without disturbing substrate.
A 5-gallon tank is best kept as shrimp-only due to space constraints. If adding tankmates, consider only 2-3 small, peaceful fish like ember tetras, but this increases bioload significantly.
Setting Up Your First Shrimp Tank?
Get species-specific parameter recommendations and track your tank cycle with ShrimpKeeper.
Download FreeRelated Articles
How to Cycle a Tank for Shrimp: Step-by-Step Guide
Master the art of cycling your shrimp tank with our detailed guide. Learn the nitrogen cycle, get exact parameters, and follow our proven step-by-step process for a thriving shrimp habitat.
How to Make Your Own Shrimp Food at Home: Complete DIY Guide
Discover how to create cost-effective, nutritious homemade shrimp food that promotes better growth and breeding. Get proven recipes and step-by-step instructions.
Why Is My Shrimp Swimming Erratically? Complete Troubleshooting Guide
When your shrimp suddenly start darting around frantically, it's usually a cry for help. Learn to identify the causes and implement life-saving solutions quickly.