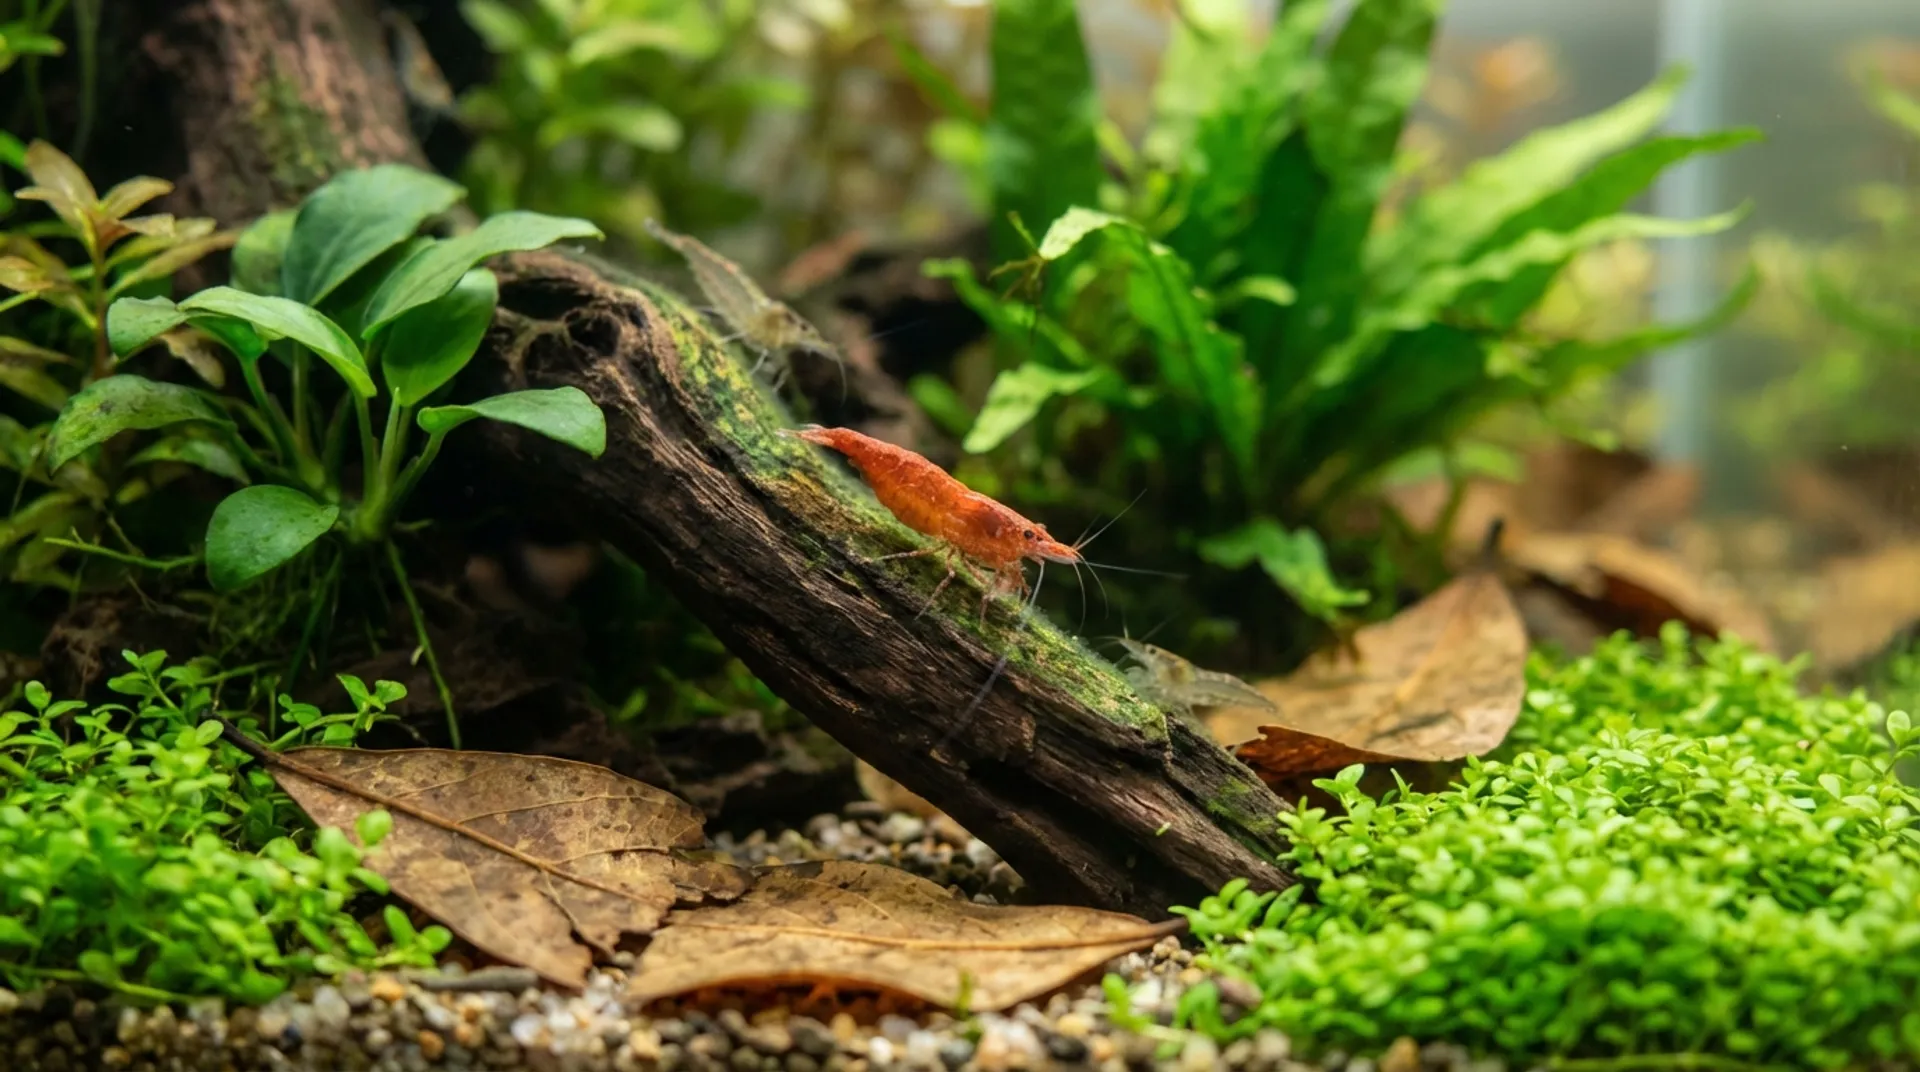
Noticing your usually active shrimp suddenly becoming lethargic and losing their vibrant colors? You might be dealing with a bacterial infection – one of the most common yet treatable health issues in freshwater aquarium shrimp. While bacterial infections can seem scary, especially when they spread through your colony, the good news is that with prompt action and proper treatment, most shrimp can make a full recovery.
Bacterial infections typically occur when shrimp are stressed by poor water conditions, overcrowding, or sudden environmental changes. These infections can manifest as external symptoms on the shell and gills or internal issues affecting vital organs. The key to successful treatment lies in early detection, immediate isolation, and choosing the right treatment approach for your specific situation.
In this comprehensive guide, we’ll walk you through everything you need to know about identifying, treating, and preventing bacterial infections in your shrimp. From recognizing the earliest warning signs to implementing proven treatment protocols, you’ll have the knowledge and confidence to help your shrimp recover and thrive.
Identifying Bacterial Infections in Shrimp
Recognizing bacterial infections early is crucial for successful treatment. Infected shrimp typically display a combination of behavioral and physical symptoms that become more pronounced as the infection progresses.
Behavioral symptoms are often the first indicators. You’ll notice infected shrimp becoming unusually lethargic, hiding more frequently, and showing reduced appetite. They may exhibit twitching or erratic swimming patterns, and some shrimp appear to “struggle” when moving through the water.
Physical symptoms become more obvious as the infection advances. Look for white patches or fuzzy growths on the body or shell, which indicate external bacterial colonization. The gills may appear opaque or milky instead of their normal translucent appearance. Color fading is common – your vibrant red cherry shrimp might appear pale or washed out.
Advanced symptoms include muscular necrosis, where sections of the shrimp’s body appear “rusty” or darkened, indicating tissue death. The exoskeleton may develop soft spots or unusual discoloration. In severe cases, you might observe internal organs appearing cloudy or discolored through the translucent shell.
Pro tip: Take photos of your shrimp when they’re healthy so you can quickly spot color changes or physical abnormalities. This visual reference is invaluable for early detection.
Bacterial infections can be confused with fungal infections or parasites, but bacterial issues typically progress faster and respond differently to treatment. When in doubt, start with the least invasive treatments first.
Immediate Quarantine and Isolation
Once you’ve identified a potentially infected shrimp, immediate quarantine is your most important first step. Bacterial infections spread rapidly through shrimp colonies, so quick action prevents a colony-wide disaster.
Set up a quarantine tank with at least 5 gallons of water using the same substrate and parameters as your main tank. If possible, use aged filter media or add beneficial bacteria to establish biological filtration quickly. Maintain water temperature within 2°F of the main tank to minimize additional stress.
Water parameters for quarantine should be pristine: ammonia and nitrite at 0 ppm, nitrate below 20 ppm. Test daily and perform water changes as needed to maintain these levels. Use dechlorinated water aged for at least 24 hours.
Transfer infected shrimp carefully using a soft net or container to avoid additional stress. Include some familiar hiding spots like Indian almond leaves or small pieces of driftwood from the main tank. Avoid introducing new stressors during this critical period.
Monitor quarantined shrimp closely, checking on them every few hours initially. Remove any deceased shrimp immediately to prevent further bacterial growth. Keep detailed notes about symptoms, behavior changes, and treatment responses.
Pro tip: Always test any treatment on a single shrimp first before treating multiple individuals. Shrimp can be sensitive to medications, and this approach helps you gauge effectiveness and safety.
Treatment Options and Protocols
Salt Bath Treatment
Aquarium salt baths are often the first line of defense against mild bacterial infections. Use only aquarium salt or non-iodized sea salt – never table salt, which contains harmful additives.
For short salt dips, dissolve 1 tablespoon of aquarium salt per gallon of dechlorinated water. Gently place the infected shrimp in this solution for 30-60 seconds while closely monitoring for stress signs. Remove immediately if the shrimp shows distress.
For extended salt baths, use the same concentration but supervise the shrimp for 10-15 minutes. This approach is more effective for stubborn external infections but requires constant attention. Always rinse the shrimp in clean, dechlorinated water before returning to the quarantine tank.
Antibiotic Treatment
Kanaplex (Kanamycin) is highly effective against aerobic and gram-negative bacterial infections common in shrimp. Follow package instructions for aquarium dosing, typically running a 3-4 day course. This antibiotic is well-tolerated by shrimp when used short-term.
Paraguard offers a gentler alternative, combining aldehyde and malachite green for broad-spectrum antimicrobial action. Dose 5ml per 10 gallons daily for 7 days, followed by a 25% water change. This medication can be used tank-wide if multiple shrimp are affected.
Always remove activated carbon from filters during antibiotic treatment, as it will absorb the medication and render it ineffective. Monitor water quality closely during treatment, as some antibiotics can affect beneficial bacteria.
Hydrogen Peroxide Treatment
For early-stage infections or rust disease, hydrogen peroxide can be highly effective. Use only 3% hydrogen peroxide from the pharmacy – never higher concentrations.
Dose 1.5ml of 3% hydrogen peroxide per gallon of tank water. Increase aeration immediately and turn off lights for one hour after dosing. Repeat daily for up to 3 days, monitoring shrimp closely for any adverse reactions.
This treatment works by increasing oxygen levels and creating an environment hostile to anaerobic bacteria while supporting the shrimp’s natural healing processes.
Supportive Care and Environmental Management
While treating the infection directly, supportive care helps boost your shrimp’s natural immune response and speeds recovery.
Temperature management involves raising the water temperature by 2-4°F within your species’ safe range. For cherry shrimp, increase from their normal 72-78°F to 75-82°F. Higher temperatures boost metabolism and immune function while making it harder for many bacteria to reproduce.
Nutritional support includes feeding high-quality, vitamin C-enriched foods in small quantities. Sick shrimp have reduced appetites, so offer food sparingly and remove any uneaten portions within 2 hours to prevent water quality issues.
Natural antibacterials like Indian almond leaves and alder cones release beneficial tannins that support healing and provide mild antimicrobial properties. These botanicals also create a more natural environment that reduces stress.
Maintain excellent water quality throughout treatment. Perform 20% water changes daily if needed to keep parameters stable. Clean, well-oxygenated water is often the most important factor in recovery.
Prevention Strategies
Preventing bacterial infections is always preferable to treating them. Most infections occur when shrimp are stressed by poor environmental conditions or sudden changes.
Water quality maintenance is your primary defense. Perform regular 10-20% water changes weekly, maintain strong biological and mechanical filtration, and test parameters regularly. Ammonia and nitrite should always read 0 ppm, with nitrate kept below 20 ppm.
Quarantine protocols for new additions prevent introducing pathogens to your established colony. Quarantine new shrimp for at least 4 weeks, monitoring closely for any signs of illness before adding them to your main tank.
Feeding practices significantly impact bacterial load in your tank. Feed only what shrimp can consume in 2-3 hours, remove uneaten food promptly, and vary the diet with high-quality commercial foods and natural options like blanched vegetables.
Population management prevents overcrowding stress that weakens immune systems. Follow recommended stocking densities for your tank size and species, allowing adequate space for all shrimp to exhibit natural behaviors.
Pro tip: Keep a hospital tank ready at all times with established filtration and stable parameters. When illness strikes, you won’t waste precious time setting up quarantine facilities.
Monitoring Recovery and Long-term Care
Successful treatment requires careful monitoring and patience. Most shrimp show improvement within 3-5 days of starting appropriate treatment, with full recovery taking 1-2 weeks.
Positive recovery signs include increased activity levels, return of normal coloration, resumed feeding behavior, and disappearance of physical symptoms like white patches or opaque gills. Shrimp should exhibit natural behaviors like foraging and social interaction.
Continued monitoring is essential even after symptoms disappear. Keep treated shrimp in quarantine for at least one week after they appear fully recovered to ensure the infection doesn’t return. Watch for any regression in symptoms or behavior.
Reintegration to the main tank should be gradual. Ensure water parameters match between quarantine and main tanks, and introduce the recovered shrimp during low-stress periods when lighting is dim.
Document your treatment approach and results for future reference. Note which treatments worked best for your specific situation, as this information becomes invaluable if infections recur.
Conclusion
Bacterial infections in shrimp can be successfully treated when caught early and approached systematically. The key elements for success include prompt identification, immediate quarantine, appropriate treatment selection, and vigilant supportive care throughout the recovery process.
Remember that prevention through excellent water quality, proper nutrition, and stress reduction remains your best strategy against bacterial infections. When treatment becomes necessary, start with the gentlest effective approach and always prioritize your shrimp’s overall well-being over aggressive intervention.
With the knowledge and techniques outlined in this guide, you’re well-equipped to handle bacterial infections confidently and help your shrimp return to full health. Stay observant, act quickly when problems arise, and don’t hesitate to seek additional guidance from experienced shrimp keepers when facing challenging cases.
Frequently Asked Questions
Early signs include lethargy, loss of appetite, faded colors, and white patches or fuzz on the body or shell. Infected shrimp may also hide more than usual and show twitching movements.
Yes, mild bacterial infections can often be treated with aquarium salt baths (1 tablespoon per gallon), improved water quality, and supportive care. However, severe infections may require antibiotics like Kanaplex.
Absolutely. Immediately isolate infected shrimp in a separate tank to prevent colony-wide spread. Maintain the same water parameters and pristine conditions in the quarantine tank.
With proper treatment, shrimp typically show improvement within 3-5 days. Full recovery usually takes 1-2 weeks, depending on the severity of the infection and the shrimp's overall health.
Maintain ammonia and nitrite at 0 ppm, nitrate below 20 ppm, and perform regular 10-20% water changes weekly. Stable pH (6.5-7.5) and appropriate GH/KH for your species also help prevent infections.
Yes, bacterial infections can spread rapidly through shrimp colonies and may affect other sensitive tank inhabitants. Quick isolation and treatment are crucial to prevent widespread contamination.
Track Your Parameters Like a Pro
Stop guessing if your water is right. ShrimpKeeper tracks TDS, GH, KH, pH, and temperature with species-specific recommendations.
Download FreeRelated Articles
Signs Your Shrimp Are Stressed and How to Help
Stressed shrimp show clear warning signs like erratic swimming, color loss, and hiding behavior. Learn to recognize these symptoms early and take action to save your colony.
Understanding Shrimp Molting: What's Normal and What's Not
Discover the difference between normal shrimp molting and dangerous molt failures. Essential guide to supporting healthy molts and preventing common problems.
How to Make Your Own Shrimp Food at Home: Complete DIY Guide
Discover how to create cost-effective, nutritious homemade shrimp food that promotes better growth and breeding. Get proven recipes and step-by-step instructions.